Getting Started with Qualia-Bench
Introduction
This guide will walk you through deploying your first SNN on the Qualia-Bench neuromorphic online benchmark with neuromorphic hardware deployment results.
We’ll re-use the model weight and configuration file provided in the Getting Started SNN tutorial that you must have followed.
Prerequisites
Before starting, ensure you have:
Qualia-Core and have followed the Installation guide
Qualia-Plugin-SNN and have followed the Installation guide
Qualia Bench
Qualia Bench is an online platform to benchmark, analyse and compare SNN solutions with and without neuromorphic hardware.
It allows you to upload your experiment and model weights to run performance, operations, energy and deployment analysis.
Qualia Bench is publicly accessible at this address: Qualia Bench.
Qualia Bench is not a training platform. It only deploys and evaluates models that were previously designed and trained locally with Qualia.
Login
You can explore Qualia Bench public results without an account. But to upload, evaluate, manage groups and share or download content you need an account.
To create an account you need to contact Pr. Benoît Miramond at benoit.miramond@univ-cotedazur.fr.
Once done, click on the connect button on the top right corner.
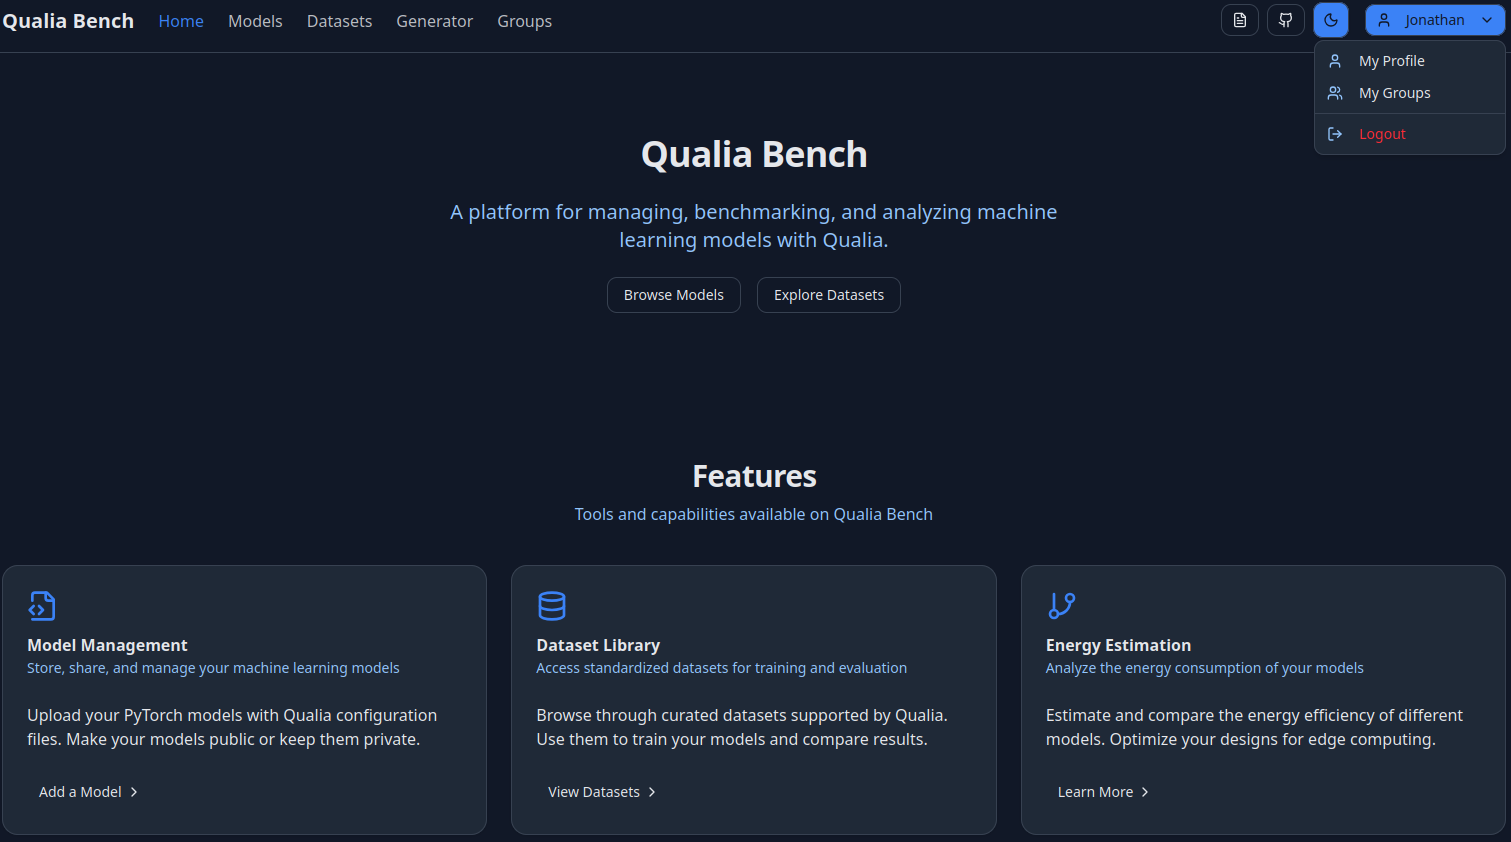
Overlook
On the Qualia Bench Home page you can access all the functionalities of the platform.
Models: Allows you to see and access all public models or those shared with you.
Datasets: Allows you to see all available datasets for the benchmark.
Generator: Helps to build configuration files like “config.toml”.
Groups: Allows you to see all the created and available groups.
My Profile: Allows you to check your information and see all your models (private/shared with group / public).
My Groups: Allows you to see and manage groups you’re in, see other members and share models within the group.
Upload your first Model
This section is a tutorial to upload your Qualia result in Qualia Bench and get access to the analysis information.
We will use the configuration files provided in the Getting Started SNN tutorial that is summarized at the end of this section.
Prerequisite
For this tutorial you’ll need the config.toml file and the network weight available in your directory:
Trained model weights:
out/learningmodel/gsc_scnn_tutorial_r1.pthconfig.toml file from the SNN tutorial with the operation counter and energy estimation post processing.
Upload the model
On “My Profile”, in the “My Models” section click on the “Add Model” button.
An “Add New Models” window will open and:
Select “Qualia” in the Model Type
Upload your “config.toml” in the “Upload Config File” section
The platform must detect one model named “gsc_scnn_tutorial”.
Upload the model weights available at
out/learningmodel/gsc_scnn_tutorial_r1.pththen click on ‘Upload Model’Congratulations, you have now uploaded your first SNN model on Qualia Bench
Run evaluations
Now you can go to “My Models” and find your ‘gsc scnn tutorial’ uploaded model.
By clicking on it you’ll be redirected to the model interface where you can:
Rename your model in the ‘Action > Edit Name’ option
Edit the configuration file if needed on the configuration (TOML) editor. Do not forget to save your configuration after modification.
Run CPU Evaluation and SPLEAT Evaluation with the corresponding ‘Evaluate’ button.
Lock Model to disable modification and prepare it for benchmarking.
CPU and SPLEAT Evaluation
In this section two evaluations are available. The CPU will run the model on the server CPU as a test. The SPLEAT evaluation will deploy the SNN model on the SPLEAT neuromorphic accelerator configured on a connected FPGA platform.
The Spiking Low-power Event-based ArchiTecture (SPLEAT) accelerator is a specialised neuromorphic computing architecture designed for the efficient implementation of spiking neural networks on both ASIC and FPGA platforms developed by LEAT.
First run the CPU evaluation
For now, no modifications are needed.
Click the Evaluate button and wait.
If the server is running you’ll be put in the queue.
At the end of the run you’ll have access to all metrics you’ve selected in the config file here:
Accuracy, parameters
Operation counter, layerwise activity
Energy estimation
You can download all of the csv files to process them locally.
Run the SPLEAT evaluation
To run this network on the FPGA, you need to:
Update the [Deploy] part. Qualia Bench automatically updates the deploy section. You just need to specify the quantization bitcwidth and the nature of the input load:
[deploy]
quantize = ["int16"]
converter.params.timestep_mode = "duplicate"
Then click the ‘Evaluate’ button.
The evaluation on FPGA is longer due to the Vivado synthesis and hardware deployment.
Also, only one board is connected and this can limit the speed of the queue.
Also, all the results are available and downloadable.